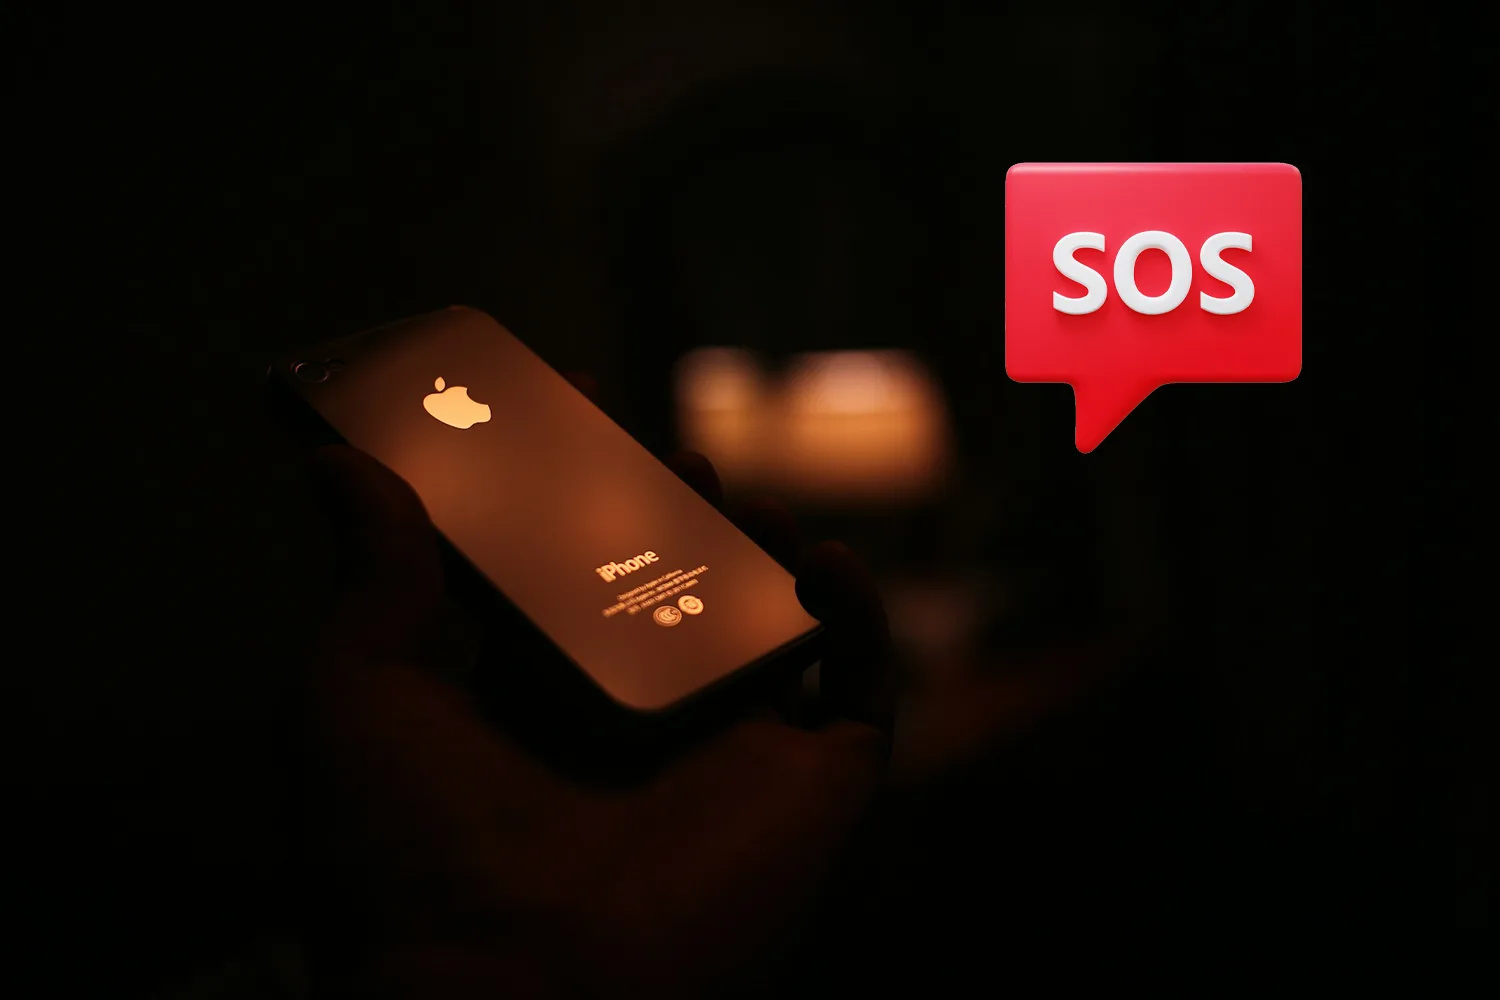
What Does “SOS Only” Mean on iPhone?
“SOS Only” mode appears when your iPhone has lost connection to your carrier’s network but can still reach emergency services through other available networks.
You can spot it in the status bar — instead of your carrier name, you’ll see “SOS” or “SOS Only.” This can happen if your carrier’s signal is weak, if you’re outside your plan’s coverage area, or if your SIM or eSIM isn’t properly registered.
On newer iPhones, Apple also uses satellite connectivity to allow emergency SOS via satellite, even without cellular coverage. So while you can still call emergency numbers, you won’t have mobile data or regular phone service until the connection is restored.
Why Does It Happen?
There are several reasons your iPhone might enter “SOS Only” mode:
-
You’re in an area with no network coverage.
-
You’re traveling abroad without a roaming plan or local eSIM.
-
Your carrier’s network is temporarily down.
-
Your iPhone has a software or network settings issue.
If you just landed in another country and your phone says “SOS Only,” it’s often because your roaming plan hasn’t activated yet or your SIM doesn’t support the local network bands. In such cases, a travel eSIM like Roafly can instantly connect you to a local network and help you avoid these interruptions.
How to Fix “SOS Only” on iPhone
Follow these steps to get your iPhone back online:
1. Check Your Signal and Location
If everyone around you also sees “SOS,” the issue is likely with the local network. Move to an open area or a higher spot and check again.
If you have Wi-Fi access, connect to it — you can still use apps like FaceTime, WhatsApp, and Messenger to communicate online.
2. Enable Data Roaming (for Travelers)
If you’re abroad, you might see “SOS” simply because data roaming is off.
Go to:
-
Settings → Cellular → Cellular Data Options → Data Roaming
and toggle it ON.
However, roaming fees can be very expensive. Instead, using a Roafly eSIM gives you instant local data at much lower prices, without worrying about surprise bills.
3. Restart Your iPhone
Sometimes the simplest fix works best:
-
Press the volume (up or down) and side button together.
-
Wait for the phone to power off.
-
After 30 seconds, hold the side button to restart.
Your iPhone will automatically try reconnecting to your carrier after rebooting.
4. Update iOS and Carrier Settings
Network bugs are often fixed in software updates.
To update your iPhone:
-
Go to Settings → General → Software Update, then install any available updates.
To update your carrier settings:
-
Go to Settings → General → About and wait a few seconds.
If an update prompt appears, tap Update.
5. Turn Airplane Mode On and Off
Turning Airplane Mode on and then off refreshes your network connection.
-
Swipe down from the top-right corner and tap the airplane icon.
-
Wait a few seconds, then tap again to disable it.
This forces your phone to search for the nearest available tower again.
6. Reinsert or Refresh Your SIM/eSIM
If you have a physical SIM, remove it and reinsert it carefully:
-
Power off your iPhone.
-
Use a SIM eject tool or paperclip to remove the SIM tray.
-
Wipe the SIM gently and put it back.
If you’re using an eSIM, you can delete and reinstall the profile:
-
Settings → Cellular → eSIM → Remove eSIM
-
Then reinstall your eSIM via QR code or your provider’s app.
If you’re using Roafly, you can reinstall your eSIM anytime from the “My eSIMs” section on the Roafly app or website.
7. Reset Network Settings
If nothing else works:
-
Go to Settings → General → Transfer or Reset iPhone → Reset → Reset Network Settings.
This clears saved Wi-Fi networks, VPNs, and cellular configurations, so reconnect manually afterward.
8. Try Recovery Mode (Last Resort)
If your iPhone is still stuck, connect it to your computer:
-
Open iTunes or Finder.
-
Press Volume Up → Volume Down → hold Side button.
-
When the recovery screen appears, select Update or Restore.
How to Prevent “SOS Only” While Traveling
-
Choose a mobile provider with strong coverage in your region.
-
Keep your iPhone and carrier settings updated.
-
Avoid relying on physical SIMs that may not work abroad.
-
Use a travel eSIM instead of expensive roaming plans.
With Roafly, you can stay connected in over 200 countries without switching SIM cards or enabling roaming. Just scan your QR code, install your eSIM, and enjoy high-speed data the moment you land.
FAQ
Why does my iPhone show “SOS Only”?
Your phone has lost its carrier connection but can still make emergency calls. It often happens in low-signal or roaming situations.
Can I still use the internet?
Yes — if you connect to Wi-Fi. Otherwise, cellular data won’t work until your phone reconnects to a network.
How can I avoid it abroad?
Activate a Roafly eSIM before your trip. You’ll automatically connect to the best local partner network on arrival, without dealing with roaming issues or SIM swaps.
Final Tip
The next time your iPhone shows “SOS Only,” don’t panic. Most of the time, it’s a temporary signal issue. But if it happens while traveling, switching to a reliable Roafly travel eSIM can keep you connected anywhere — from Tokyo to Istanbul to New York.